Czym jest VPN? Zalety i wady wirtualnej sieci prywatnej VPN

Czym jest VPN, jakie są jego zalety i wady? Omówmy z WebTech360 definicję VPN oraz sposób zastosowania tego modelu i systemu w praktyce.
When working on a Google Sheet with different collaborators, it’s crucial to track all changes. That way, everybody can refer to new information and stay up-to-date.

Tracking and managing changes in Google Sheets is quite simple. There are different ways to do it by enabling different functions or by using an add-on. Let’s explore them.
Track Changes by Enabling Notification Rules
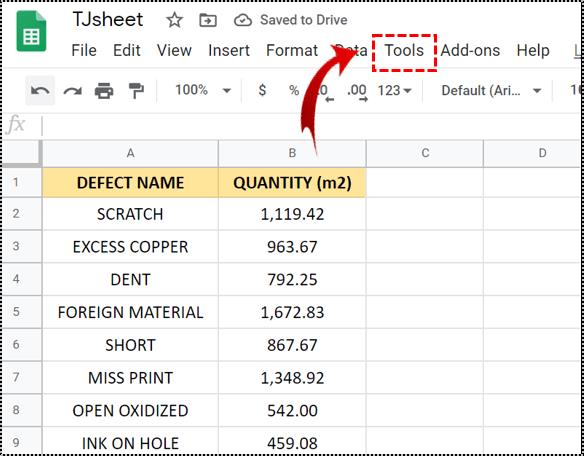
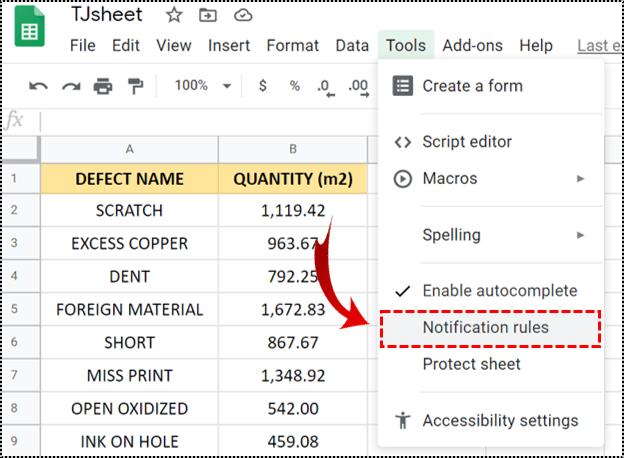
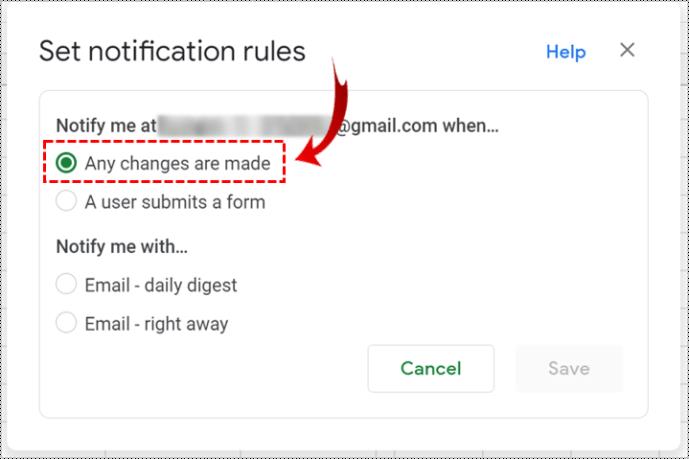
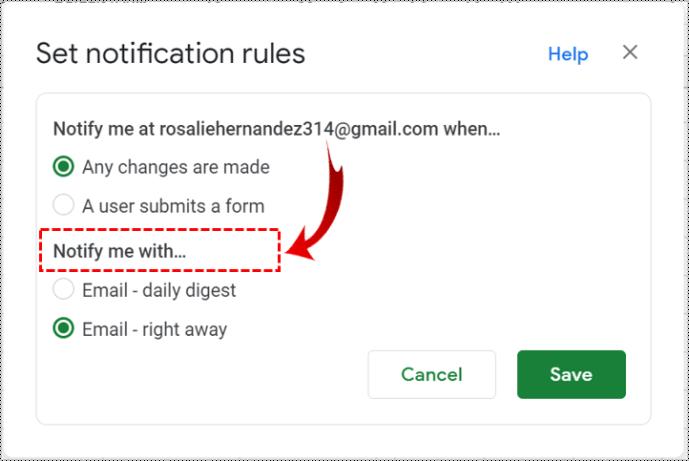
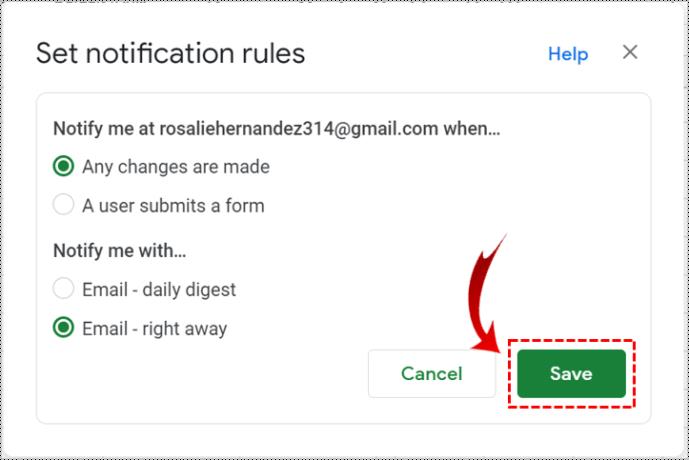
The neat feature that exists in Google Sheets “Notification rules” allows you to always be informed of the changes made to the document. Once you enable it, you’ll receive emails every time there’s a change to the sheet. You get to decide whether you want to receive notifications every time someone makes a change, or get a summary of all the edits.
Let’s see how to do this:

Track Changes by Enabling Version History
Another useful method to track changes in Google Sheets is by enabling “Version history”. This function gives an overview of all edits, along with details like who made the edits and when. Here’s how to do it:
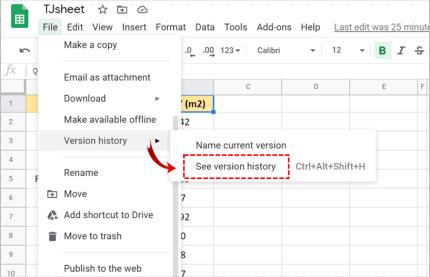
There’ll be a bar on the right side of the sheet showing the names of the editors in different colors. Now, all new changes will be highlighted in a color representing the person who made the changes.
Track Changes with Sheetgo
There’s an add-on called Sheetgo that allows you to easily track changes in your Google Sheets and have data automatically imported every day. First, you’ll have to install the add-on. Then you should open the sheet where you wish to track daily changes and the one with the necessary data. Here’s how to start using the add-on:
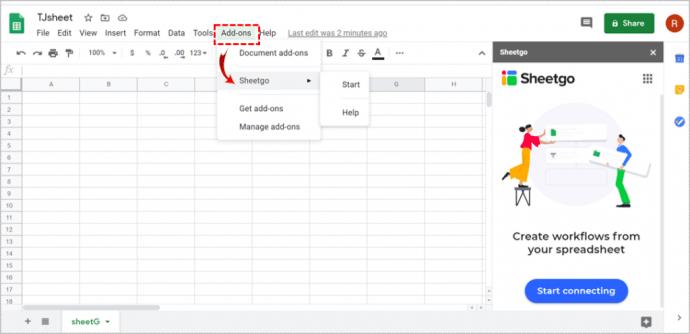
Now that you’ve done that, let’s see how to import data from the current sheet to the one where you want to track changes.
Once you perform these steps, you’ll also have to enable “Append data” to finish the process. By doing so, the add-on automatically appends the data below the previously imported data. You should also tick on “Enable transfer formatting” so that both your sheets look the same.
You can choose to name the connection for future references. Under the “Automatic update” section, you can decide how often and at what time you want the data import to happen. Enabling this option and selecting the frequency of data imports allows you to get daily updates of the changes.
Finally, click on “Finish” to finish the process. The new data will now be appended below the existing one on a daily basis. Every day you open the sheet, you’ll get fresh information, allowing you to track the changes.
This add-on’s useful as it only requires a one-time connection. Once you make it, you’ll be able to keep up with changes in your Google Sheets automatically and on a daily basis.
Note: You may decide to turn off “Automatic update” or change how often you want data to be imported. Refer to the section above if you want to do that.
Track Changes by Enabling “Conditional Formatting”
A visual representation of changes can be a very simple way to track all the edits. There’s an option in Google Sheets to do so – you just have to enable it. Here’s how you can do it:
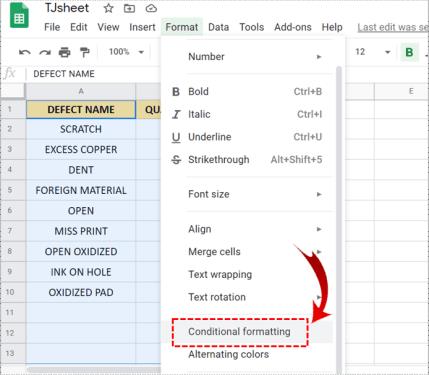
Let’s say you choose blue as a background color. If a person enters data or makes changes to the formatted cells, the cell where they do it turns blue. Simple as that!
Track Changes by Enabling “Cell History”
If you wish to track the changes made to just one cell, you can do it by enabling the new “Cell History” option. This allows you to see the name of the collaborator who made the change and the timestamp of the change. Here’s how to do it:
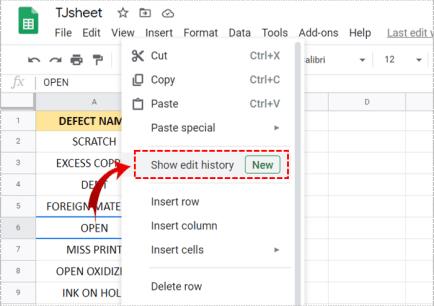
Congratulations!
Now you’ll have no problem turning on track changes in Google Sheets. There are various methods to do so. You can enable “Notification rules”, “Version history”, “Conditional formatting”, “Cell history”, or get an add-on such as Sheetgo.
Have you tried any of the methods before? Which one works best for you? Let us know in the comments below.
Czym jest VPN, jakie są jego zalety i wady? Omówmy z WebTech360 definicję VPN oraz sposób zastosowania tego modelu i systemu w praktyce.
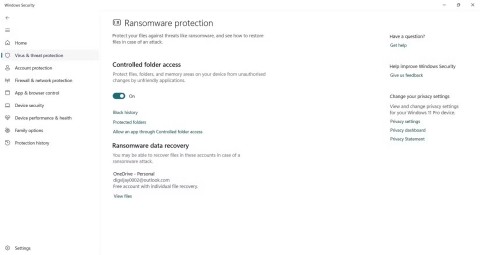
Zabezpieczenia systemu Windows oferują więcej niż tylko ochronę przed podstawowymi wirusami. Chronią przed phishingiem, blokują ransomware i uniemożliwiają uruchamianie złośliwych aplikacji. Jednak te funkcje nie są łatwe do wykrycia – są ukryte za warstwami menu.
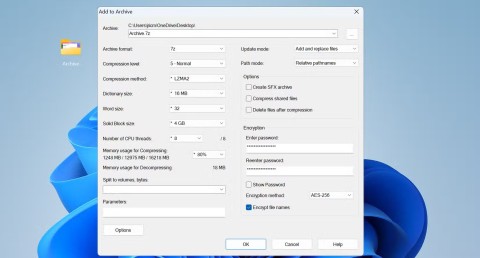
Gdy już się tego nauczysz i sam wypróbujesz, odkryjesz, że szyfrowanie jest niezwykle łatwe w użyciu i niezwykle praktyczne w codziennym życiu.
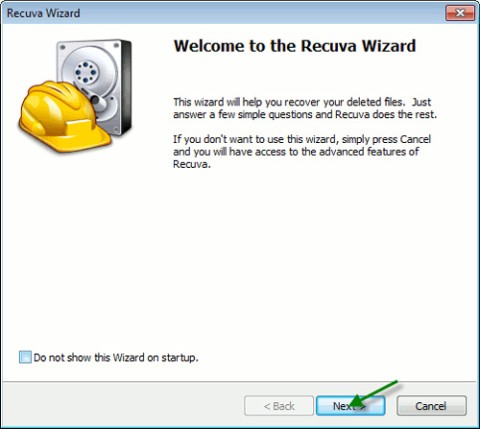
W poniższym artykule przedstawimy podstawowe operacje odzyskiwania usuniętych danych w systemie Windows 7 za pomocą narzędzia Recuva Portable. Dzięki Recuva Portable możesz zapisać dane na dowolnym wygodnym nośniku USB i korzystać z niego w razie potrzeby. Narzędzie jest kompaktowe, proste i łatwe w obsłudze, a ponadto oferuje następujące funkcje:
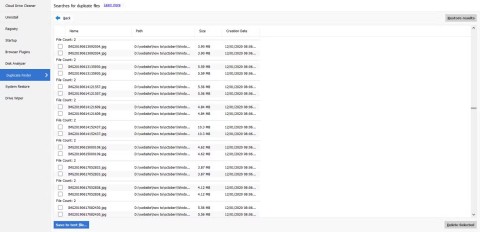
CCleaner w ciągu kilku minut przeskanuje Twoje urządzenie w poszukiwaniu duplikatów plików i pozwoli Ci zdecydować, które z nich możesz bezpiecznie usunąć.
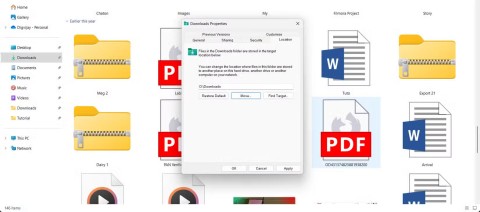
Przeniesienie folderu Pobrane z dysku C na inny dysk w systemie Windows 11 pomoże zmniejszyć pojemność dysku C i sprawi, że komputer będzie działał płynniej.
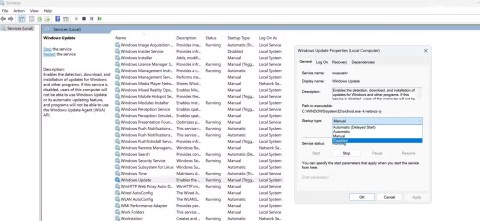
Jest to sposób na wzmocnienie i dostosowanie systemu tak, aby aktualizacje odbywały się według Twojego harmonogramu, a nie harmonogramu firmy Microsoft.
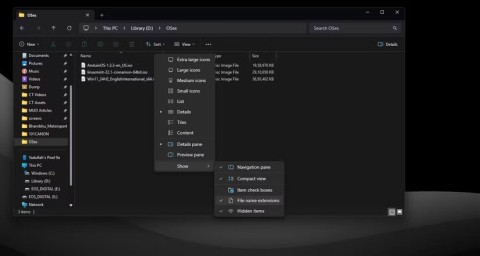
Eksplorator plików systemu Windows oferuje wiele opcji zmieniających sposób wyświetlania plików. Być może nie wiesz, że jedna ważna opcja jest domyślnie wyłączona, mimo że ma kluczowe znaczenie dla bezpieczeństwa systemu.
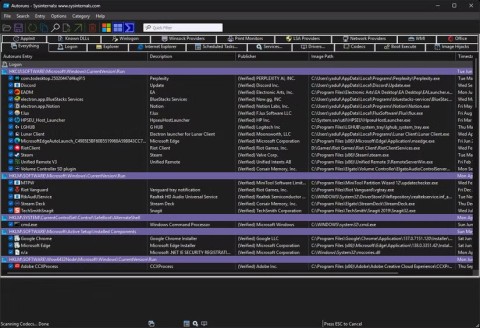
Przy użyciu odpowiednich narzędzi możesz przeskanować swój system i usunąć programy szpiegujące, reklamowe i inne złośliwe programy, które mogą znajdować się w systemie.
Poniżej znajdziesz listę oprogramowania zalecanego przy instalacji nowego komputera, dzięki czemu będziesz mógł wybrać najpotrzebniejsze i najlepsze aplikacje na swoim komputerze!
Przechowywanie całego systemu operacyjnego na pendrive może być bardzo przydatne, zwłaszcza jeśli nie masz laptopa. Nie myśl jednak, że ta funkcja ogranicza się do dystrybucji Linuksa – czas spróbować sklonować instalację systemu Windows.
Wyłączenie kilku z tych usług może znacznie wydłużyć czas pracy baterii, nie wpływając przy tym na codzienne korzystanie z urządzenia.
Ctrl + Z to niezwykle popularna kombinacja klawiszy w systemie Windows. Ctrl + Z pozwala zasadniczo cofać działania we wszystkich obszarach systemu Windows.
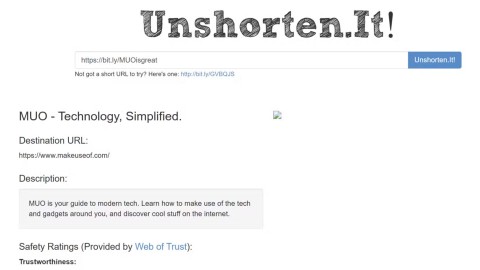
Skrócone adresy URL są wygodne w czyszczeniu długich linków, ale jednocześnie ukrywają prawdziwy adres docelowy. Jeśli chcesz uniknąć złośliwego oprogramowania lub phishingu, klikanie w ten link bezmyślnie nie jest rozsądnym wyborem.
Po długim oczekiwaniu pierwsza duża aktualizacja systemu Windows 11 została oficjalnie udostępniona.
